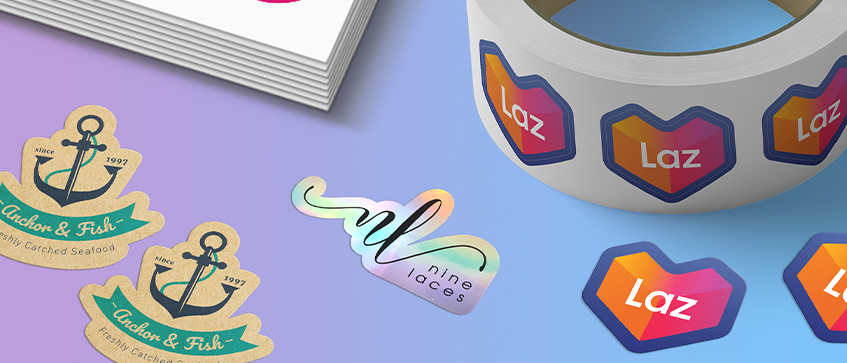
When it comes to stickers, they come in various shapes that requires special cutting with precision. That said, creating die-cut stickers can be tricky. Luckily, we at Hellosticker are experienced with sticker designs and creating print-ready files on the go.
Without further ado, here is a brief list of what you need to be able to create print-ready stickers:
- Know the basics of a Vector
- Knowledge regarding Bleed & Safety Margins
- Have the software Adobe Illustrator
- Have a Vector version of your sticker
If you have prepared everything listed above, then you're almost there to create the perfect print-ready sticker! Let’s take a look at these few steps below.
Steps to create Die-Cut Stickers with Adobe Illustrator:
Step 1 - First, access your sticker file using Adobe Illustrator. Here, we will be using the Gogoprint logo. Do ensure that it is a vector file.
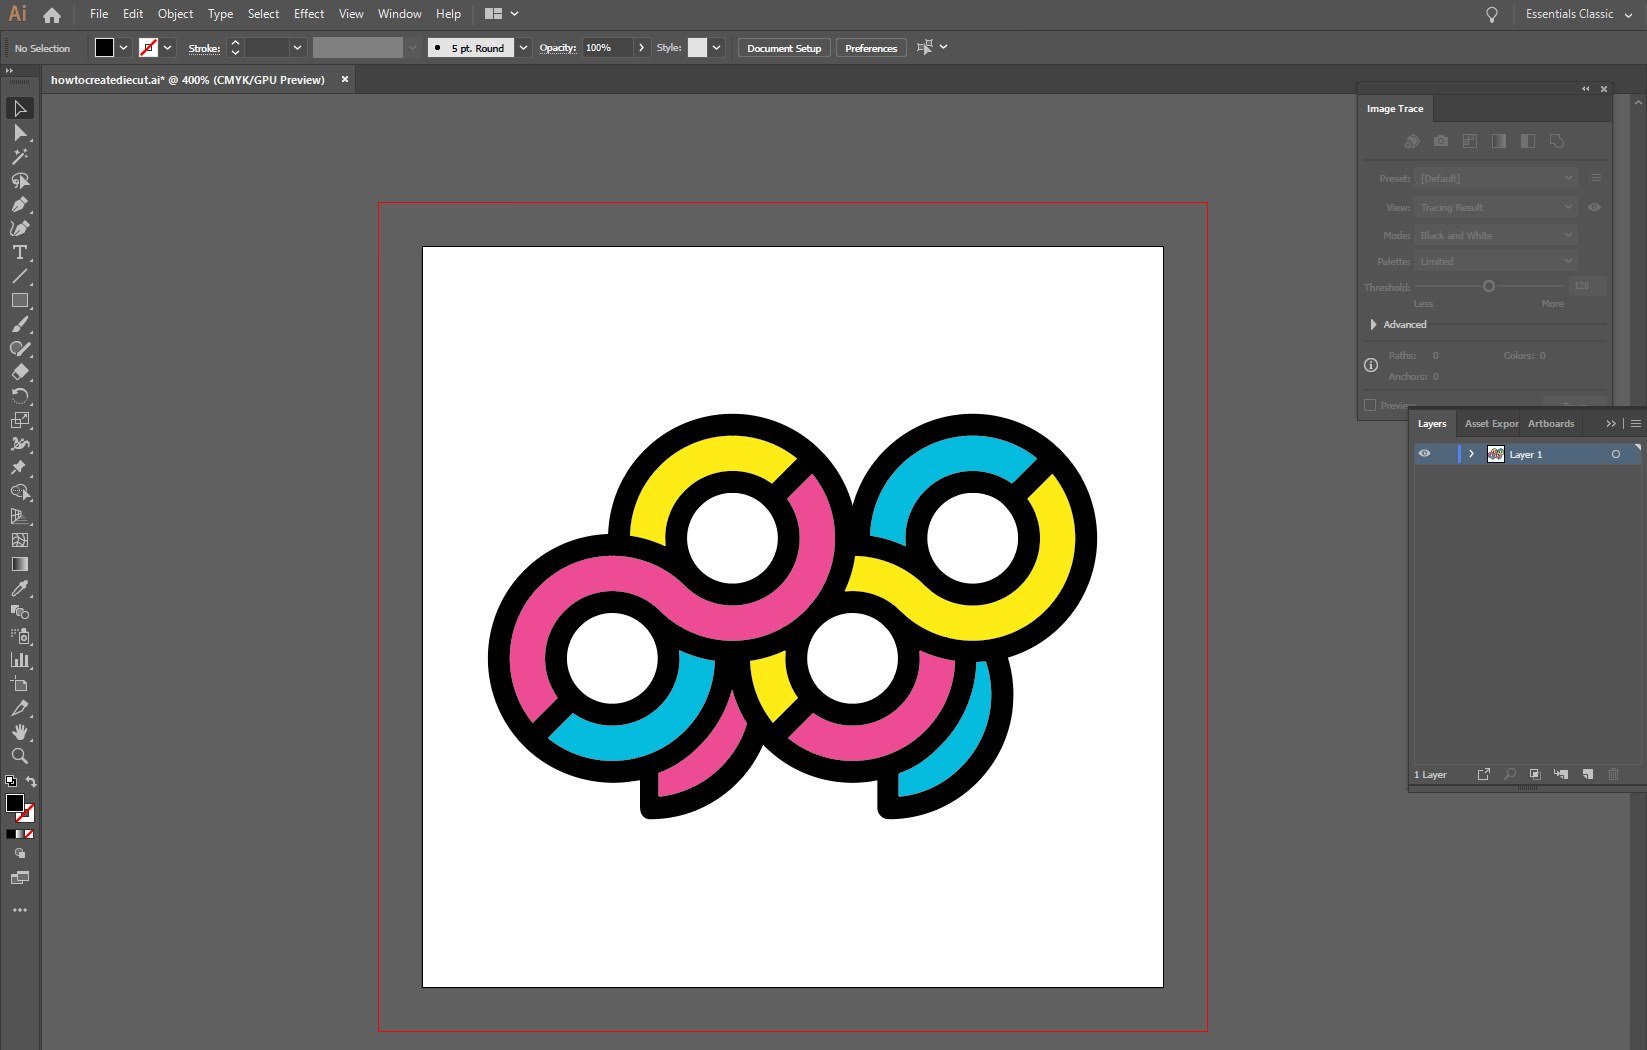
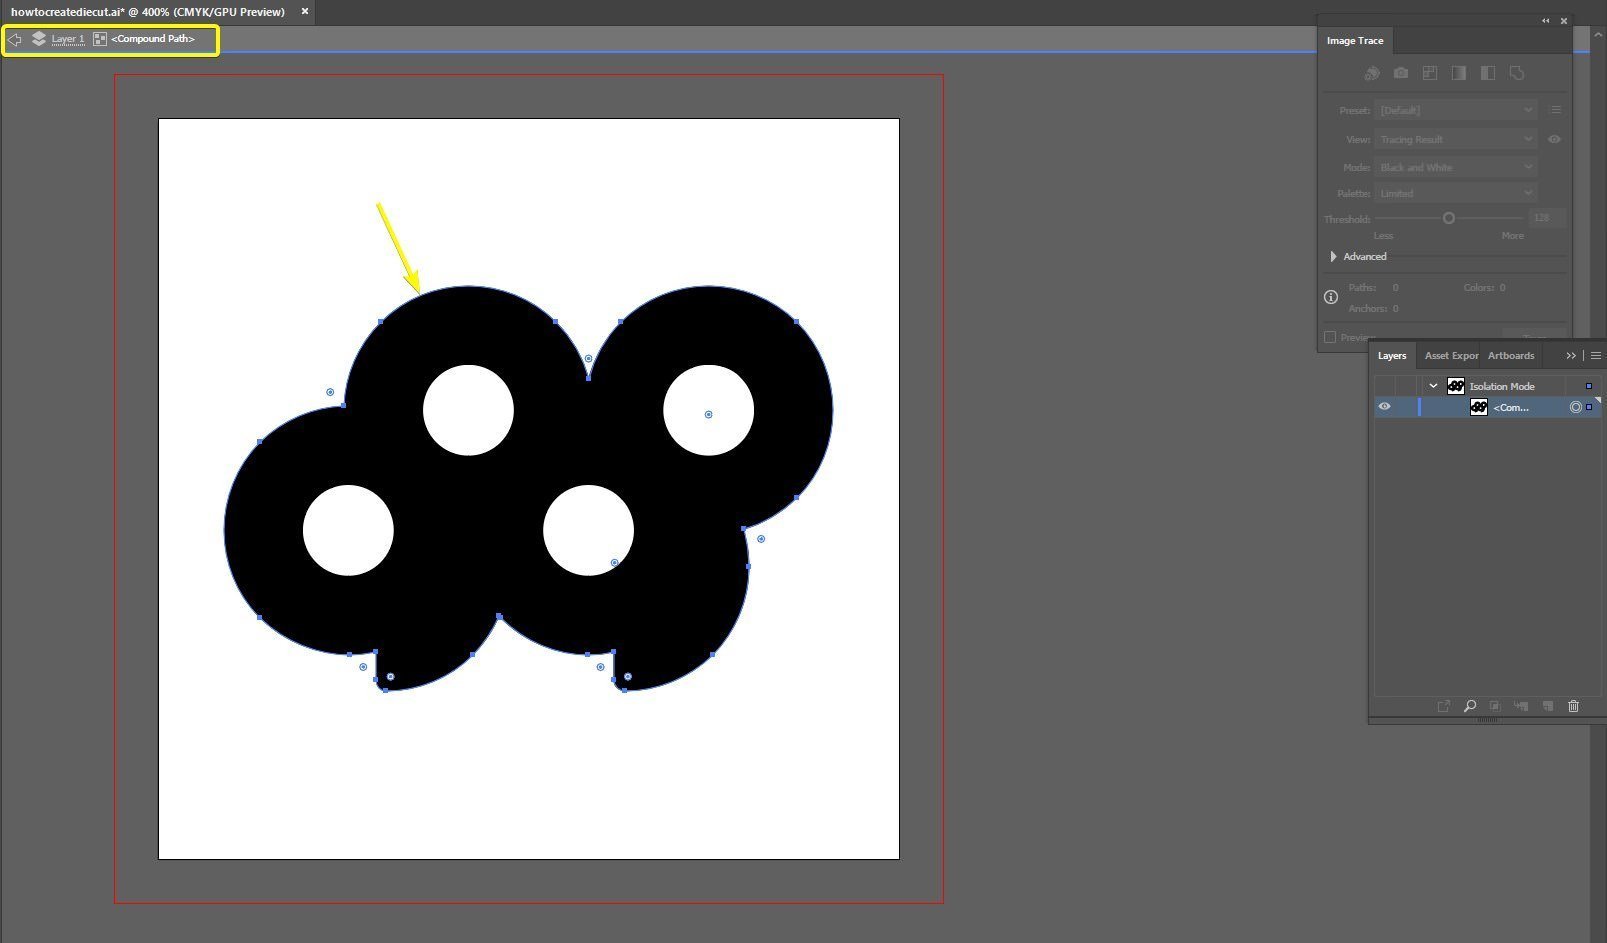
Step 2 - Double click on the line on edge of the logo so you can select the black shape.
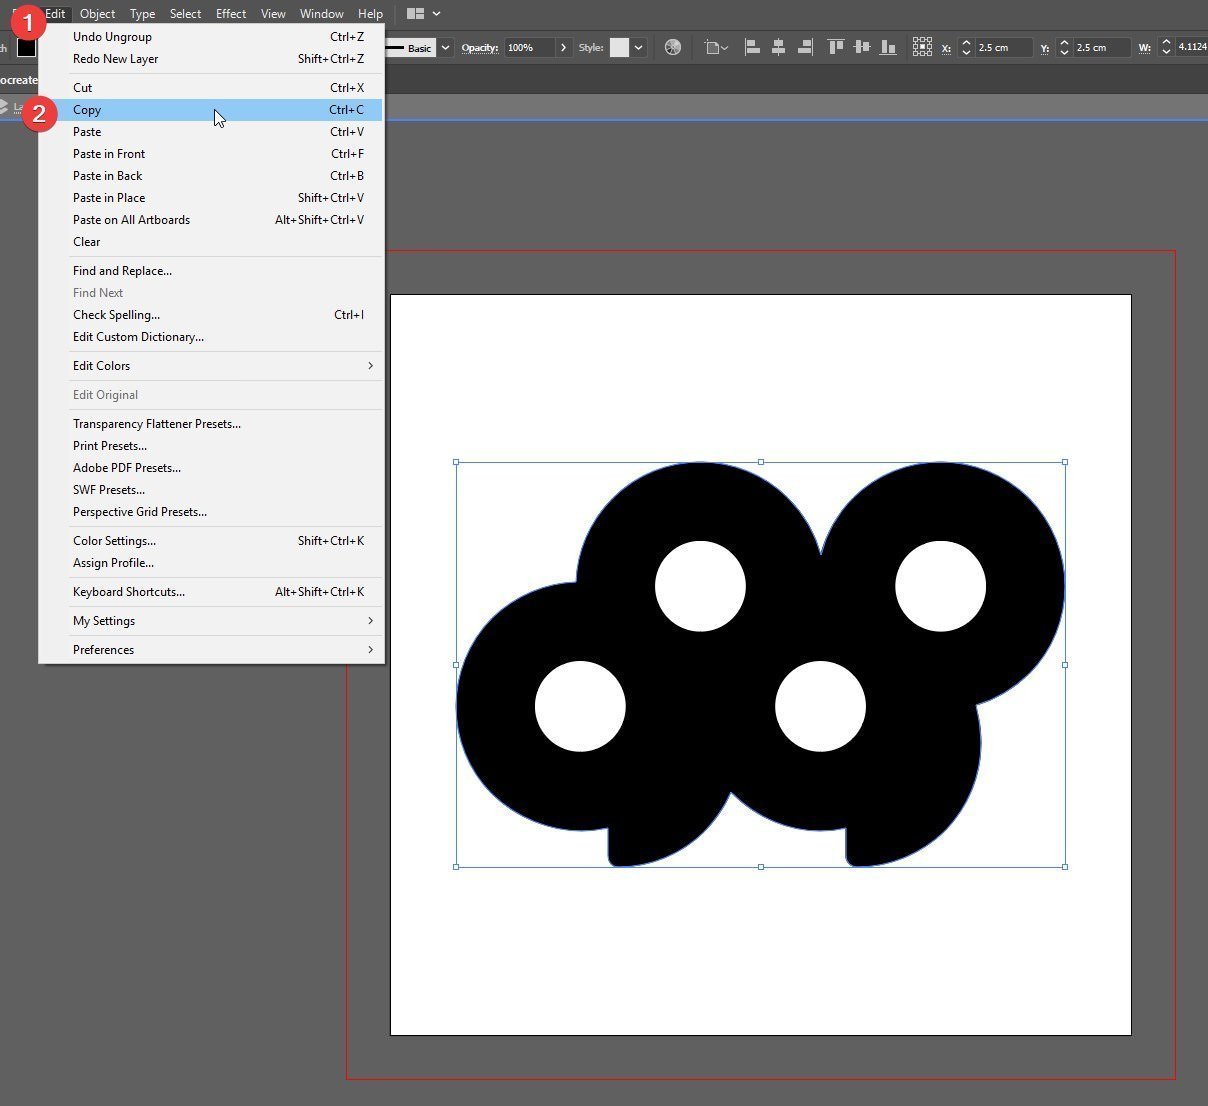
Step 3 - Then, click on “Edit” → “Copy” on the top left of your screen, or use shortcut keys, Cmd+C for Mac, Ctrl+C for Windows
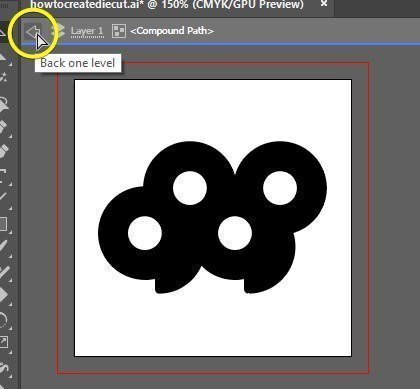
Step 4 - Click on the left arrow as circled below to unselect the black shape, or you can double-click the area outside of the Artboard to exit the editing mode
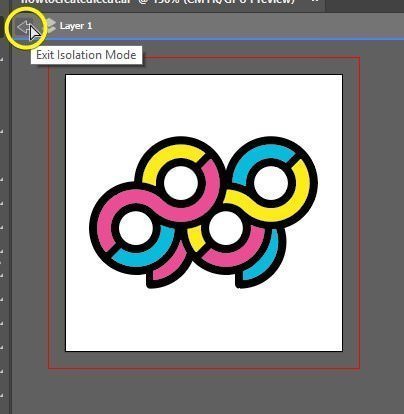
Step 5 - Next, make a new layer, then Paste your copied shape on the new layer using the shortcut keys, CTRL+F for windows and CMD+F for Mac, these keys will paste your shape in the same exact position as your sticker.
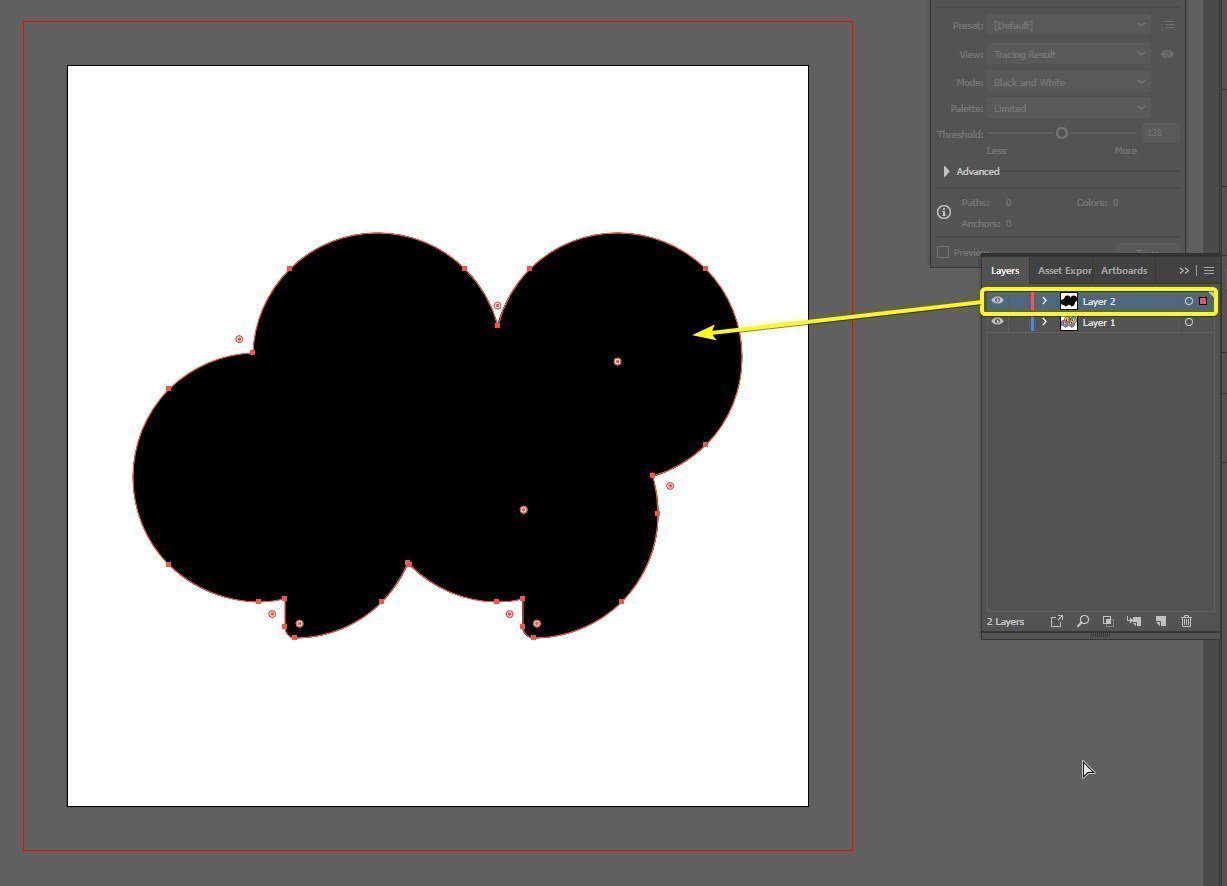
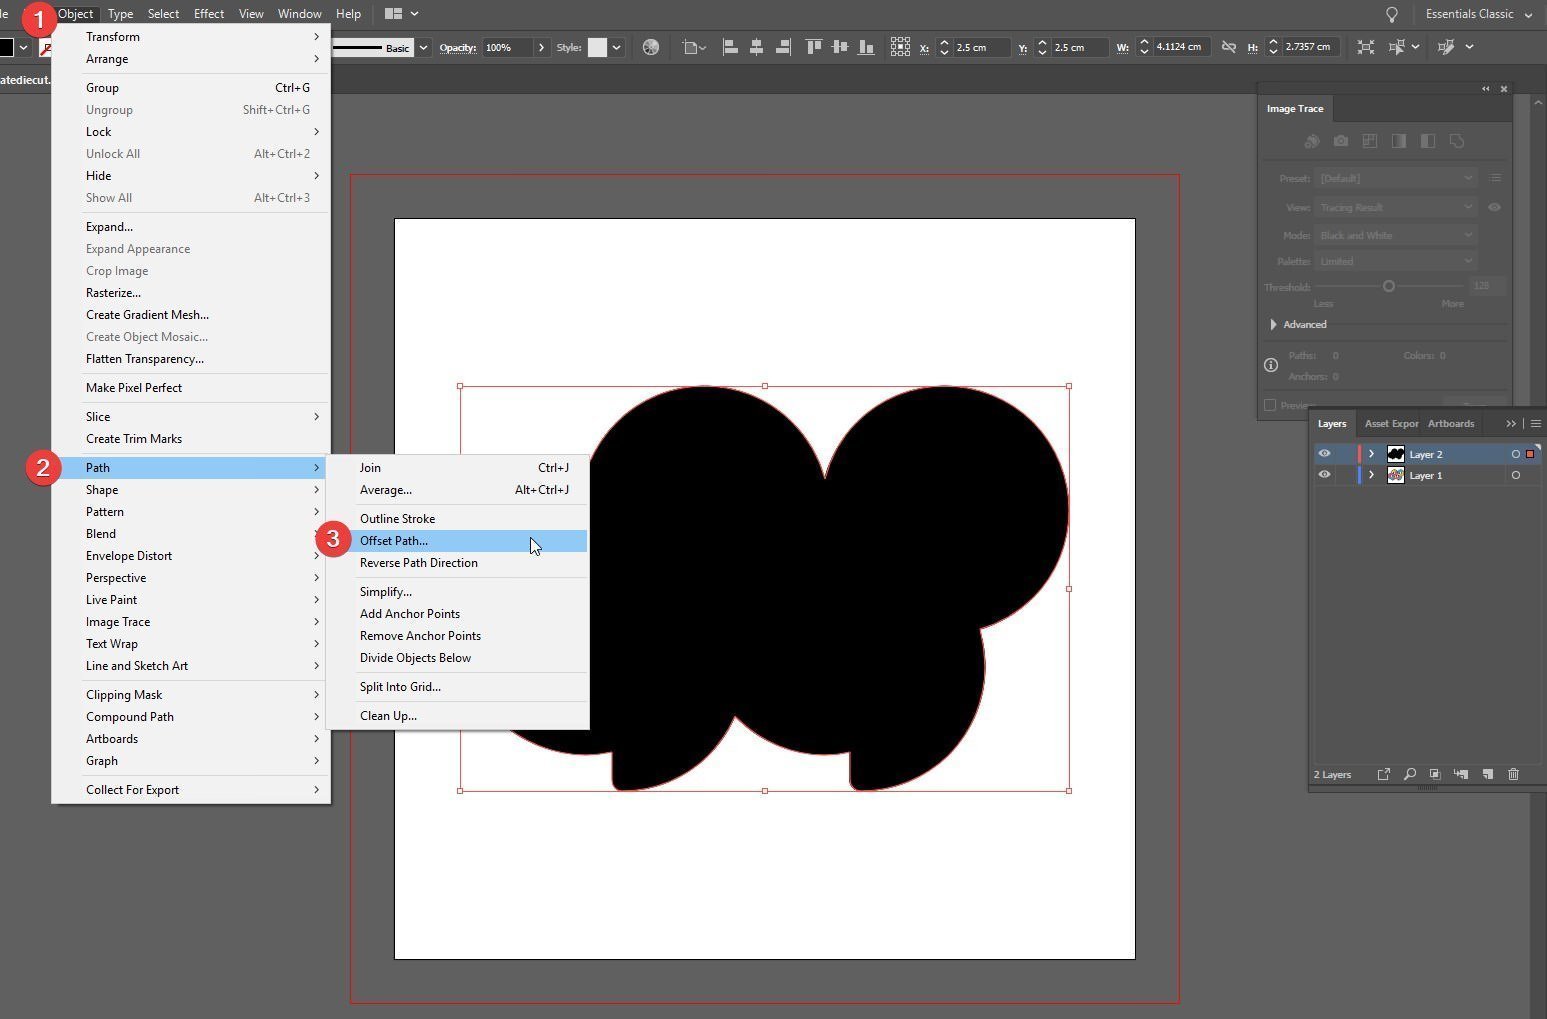
Step 6 - Then, click on "Object" → "Path" → "Offset Path" on the top left of the screen
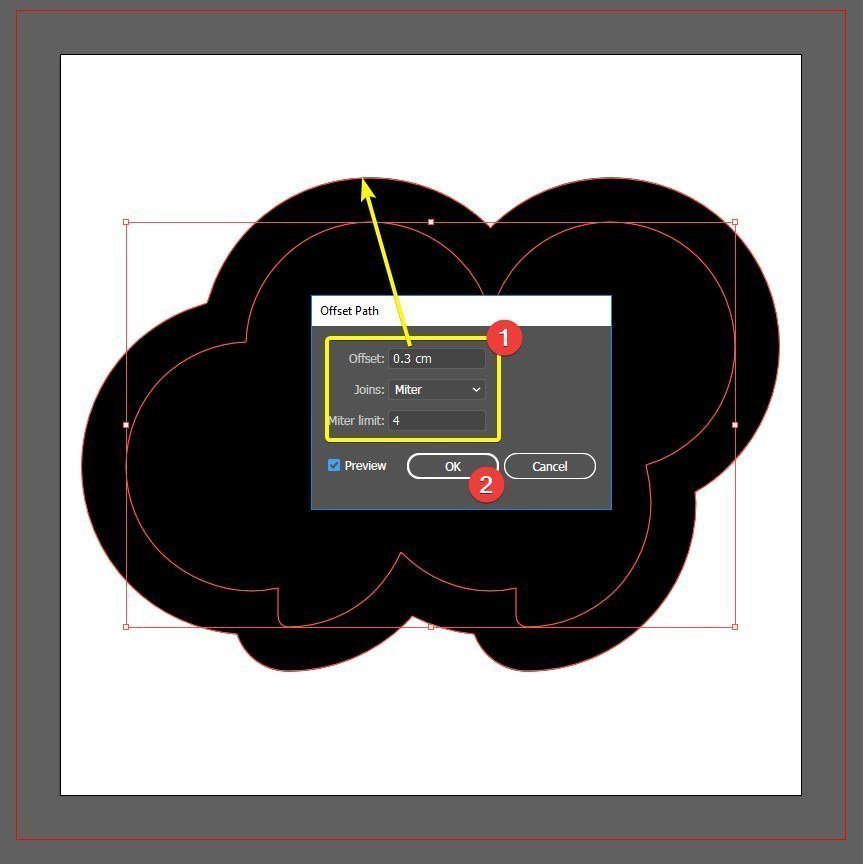
Step 7 - Now to make a margin for your artwork. For the “Offset” path, key in 0.3cm, you can tick the “Preview” box to double check, then click OK. This will create a 0.3cm border for your sticker. You can modify the value depending on your preference.
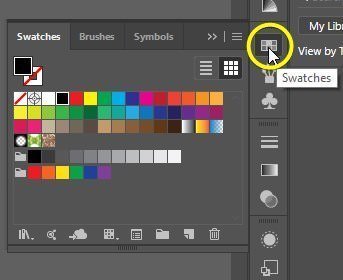
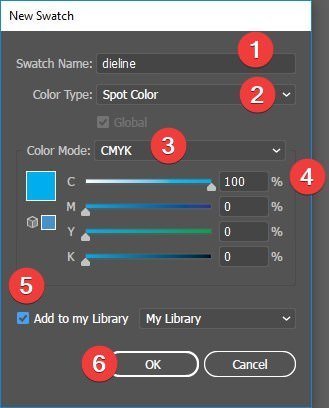
Step 8 - Next, change the border Stroke color to “Spot Color”. In Hellosticker, we advise to set name as Spot Color “Dieline” and also set the CMYK color to C100%, M0%, Y0%, K0%. The steps are as follows:
- 1. Go to “Swatch” tab
- 2. Click on “New Swatch”
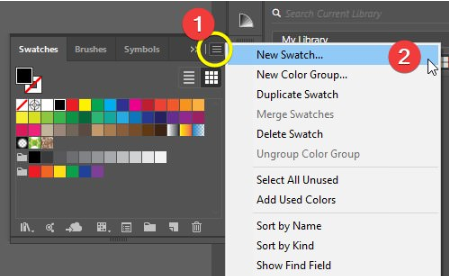
- 3. Set your New Swatch as the image provided below
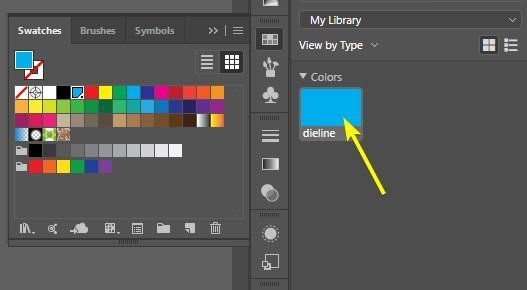
- 4. You can view the set Spot Color in the right tab.
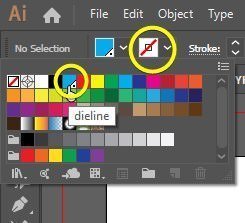
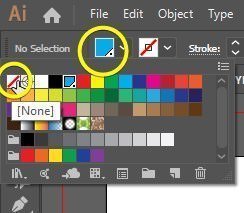
- 5. Switch the current stroke color to your newly created color (“Dieline”), then set the Fill Color to “None”.
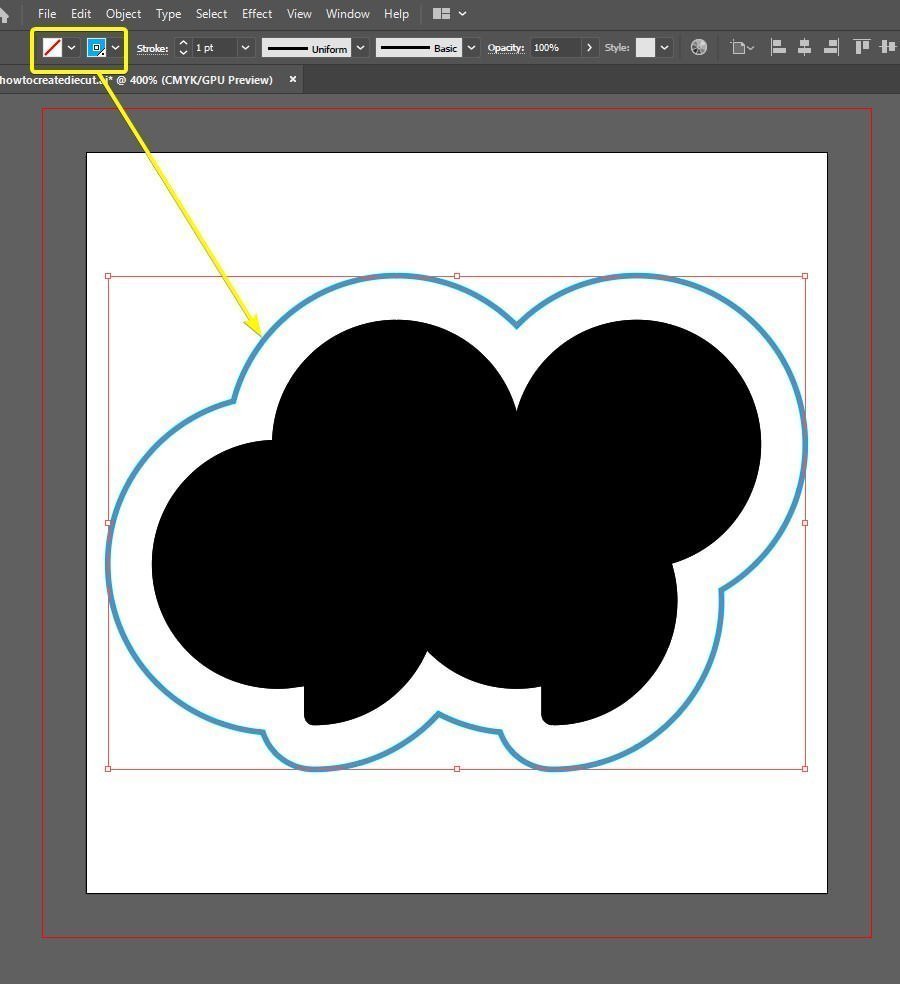
When all set and done this image below will be the result:
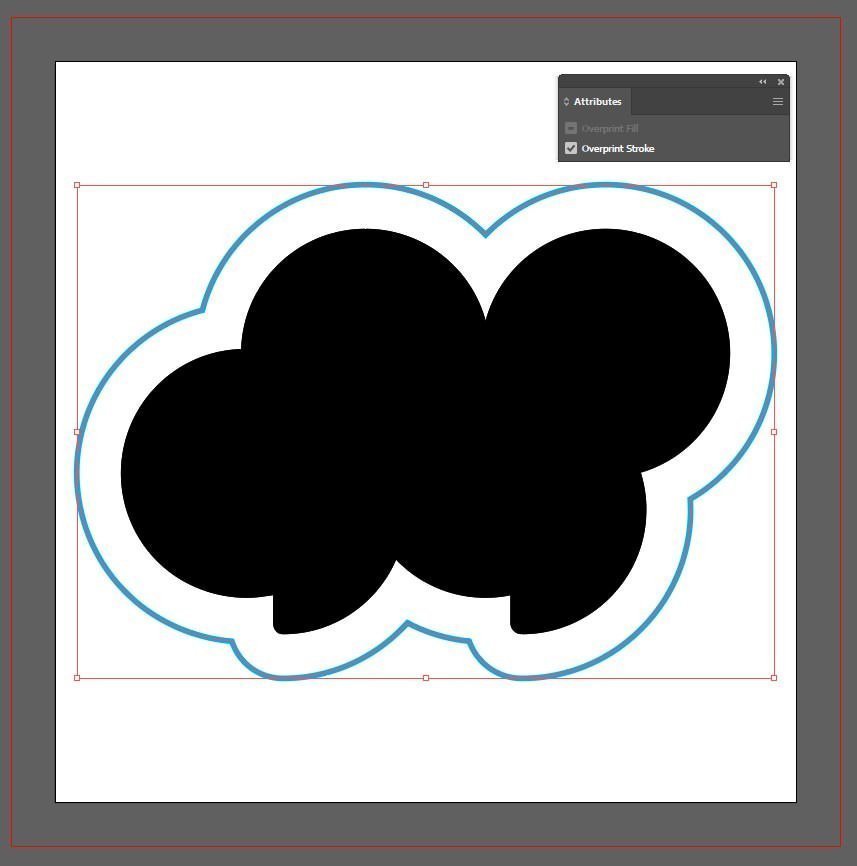
9. Next, go to “Attributes” → Tick the “Overprint Stroke” box. Ensure that you have selected the stroke you just created before you tick “Overprint Stroke”. Image as shown below:
10. Now you can delete the black colored shape. Then you will see the image as shown below:
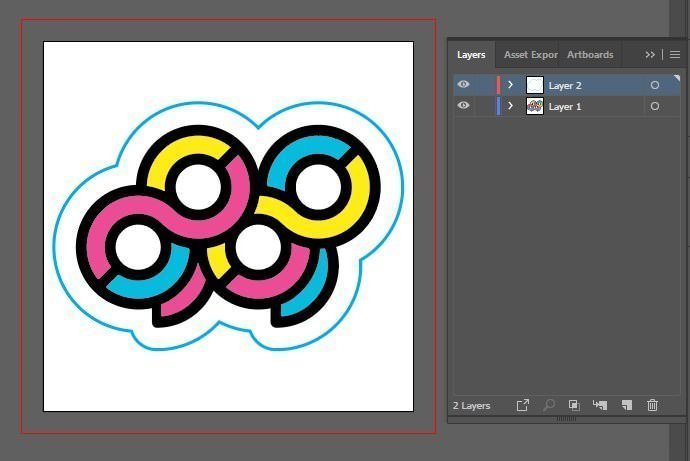
11. Also, rename the top layer to “technical” ,then rename the layer below to “artwork”
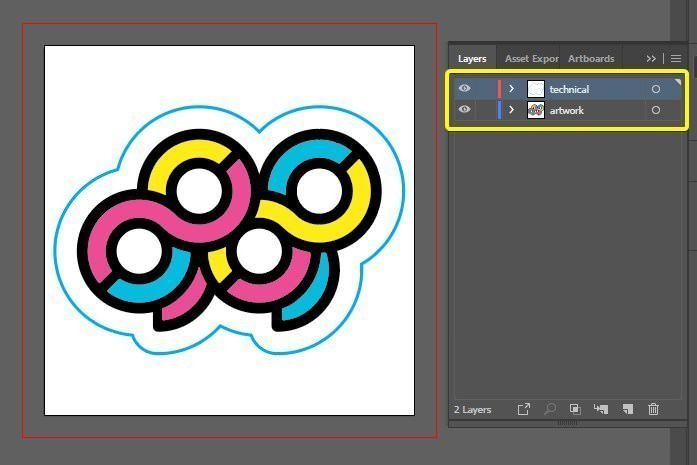
12. Finally, you can save the artwork as PDF file.
Hooray, your sticker now print-ready! If you are still unsure, you can also contact Hellosticker or just upload your PDF file to Hellostickers website. Our Customer Service will let you know if there are any issues.
In Hellosticker, we have many kinds of stickers with a wide range of materials based on your preference.
If you did not manage to find what you are looking for, feel free to give us a call. With Hellosticker, we offer plenty of choices, and also high-quality stickers at the best price.
