When you’re printing stickers, you will definitely play around with colors of your artwork. Regardless of the software you’re using, you will come across a few color “modes” to adjust your artwork, RGB & CMYK will be brought up more often than not. At Hellosticker, we will talk about RGB and CMYK, and also how to convert these color modes with your software.
Meaning of RGB / CMYK
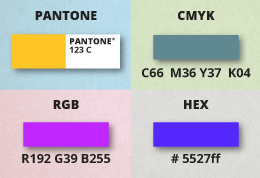
RGB and CMYK are actually acronyms. RGB comes from the colors of light (Red, Green, Blue). Whereas CMYK comes from the colors of ink (Cyan, Magenta, Yellow, Black). These color modes are different blends of color that can be used for different situations.
Difference between RGB and CMYK
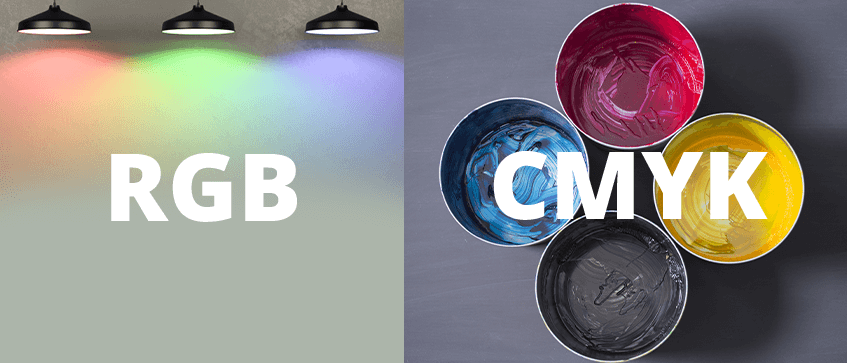
RGB is made by colors of light, so it is mostly for digital artworks — social media ads, apps, videos, tv shows etc utilizes this mode. Which usually means they have vibrant, rich colors on their visual.
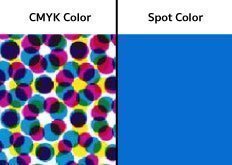
At Hellosticker, our stickers and process printing in general utilizes CMYK. As said before, this mode is created by blending 4 types of ink color to make other colors. Whether you’re printing with paper stickers, kraft stickers or warranty stickers, they require the CMYK color mode to print. (We also use spot colors to print some of our stickers, which is another topic altogether, check out this article for more information!)
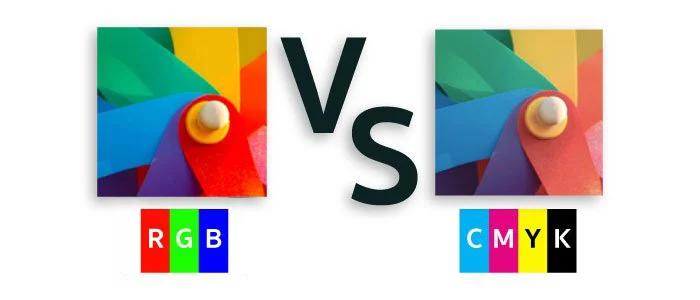
If you look carefully, CMYK colors are darker and duller compared to RGB colors. This is due to the fact that CMYK colors are not produced by light. This results in CMYK creating a different range of colors, because the colors you see on tv and computer screens can’t be replicated by ink.
Therefore, whenever you choose color modes for your sticker projects, we will highly advise you to use the CMYK color mode to avoid printing issues. If your artwork is in RGB mode, worry not, as you can still convert them to CMYK!
**NOTE: During the conversion, color changes will occur
Guide to Convert RGB to CMYK
Luckily for us, the conversion can be easily done in most graphic softwares. For example, the Adobe Illustrator program and Adobe Photoshop program can apply the conversion with only a few clicks. Here we will display a simple guide in these programs on how to convert RGB to CMYK for your artwork :)
Method A: Using Adobe Illustrator
1. Open your File with Illustrator
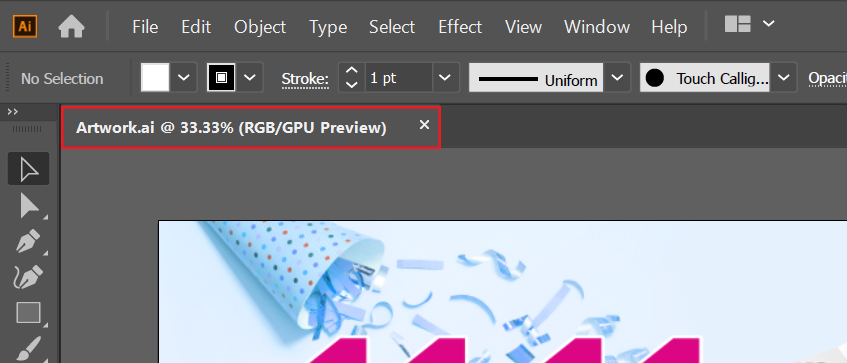
If you open your illustrator, there will be a tab as shown in the image below. This bar will show your currently used color mode as “(RGB/GPU Preview)”. If the tab / bar displays “(CMYK/GPU Preview)” then you don’t need to do the conversion as it means your visual is already in CMYK.
2. Go to “Document Color Mode”
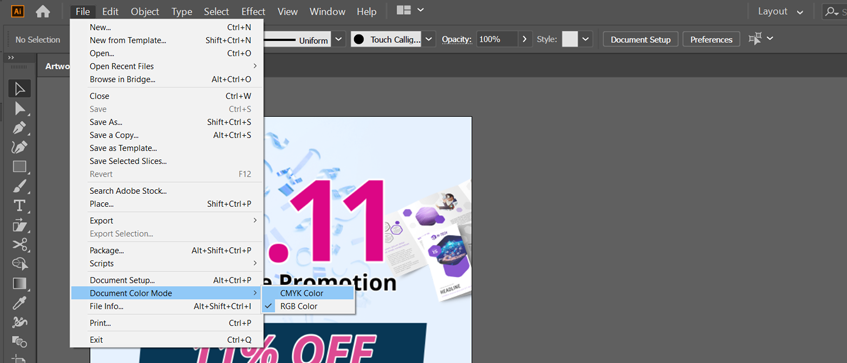
You can access the mode through the “Files” tab on the top left corner. There, you will see a tick on “RGB color” as shown in the image, change the color mode by clicking on “CMYK Color”. (File>Document Color Mode>CMYK Color)
3. Your File is Now in CMYK
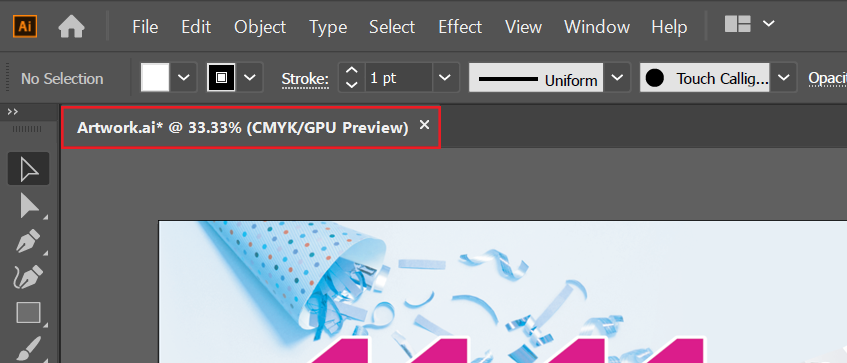
After the previous step, the bar will now show “(CMYK/GPU Preview)”. You can then save the file in PDF.
Method B: Using Adobe Photoshop
1. Open your File with Photoshop
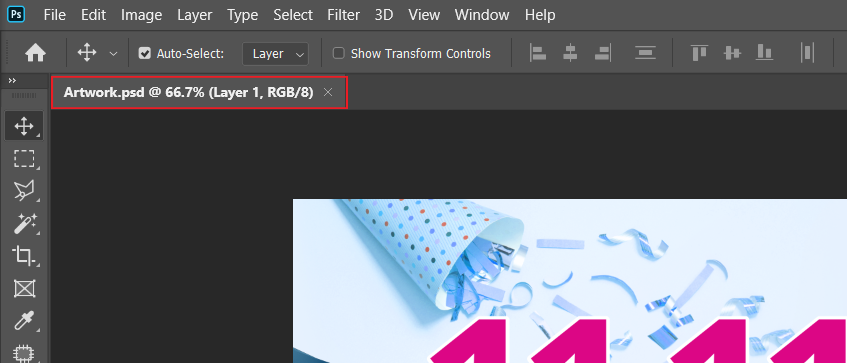
After you open your file with the program, there will be a tab as shown in the image below (RGB/8). If the bar shows (CMYK/8) instead, your file is already in CMYK so you can ignore these steps.
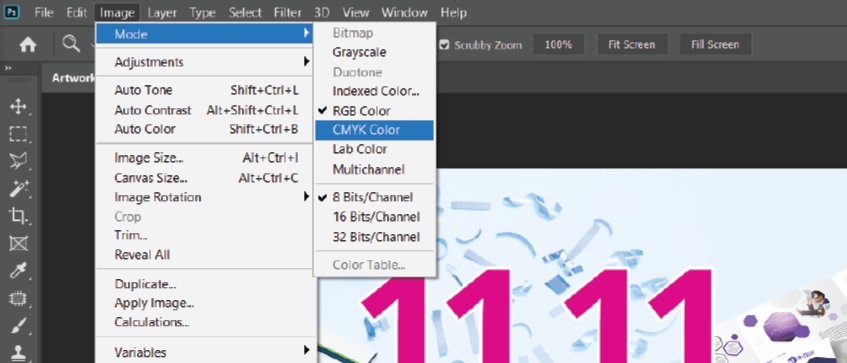
2. Adjust the Image Color Mode
Go to “Mode” at the “Image” tab on the top corner. There will be a tick on “RGB Color” as shown in the image below. Change the color mode by clicking on the “CMYK Color”.(Image>Mode>CMYK Color). A window will pop up (which is a warning on the technical side but nothing to worry about), click “ok” to proceed.
3. Your File is Now in CMYK
Finally, the bar shown in the image below is now “(CMYK/8)”. You can proceed to save your file in PDF.

Wrap up
Congratulations! You now know how to convert your sticker files from RGB to CMYK color mode. The more you know about these color modes the better you can foresee the results of the printed product. Now that you are one step closer to be a sticker printing expert ;), take a look at our website and print your awesome stickers with us!