You’ve prepared the files and you’re all set to send your stickers for printing. You uploaded your artwork and clicked on the “proceed” button, everything seems to be settled, right?
Well… not exactly.
You received an email notifying you about an artwork issue , and it explains that the file you submitted lacks a die cut line, or that it lacks a vector. You re-uploaded your file again, only to get the same result. Which may prompt you to question “What is a vector?” or “How do I make a vector?”
Worry not, because we might have the answer. At Hellosticker, we’ll talk about the basics of vector and ways to vectorize your artwork in just a few steps.
The Meaning of Vector
Vectors are created by mathematical formulas between various elements of an image. Vectors can consist of points, shapes, lines, arcs etc.
For example, most logos are produced as a vector file so they can be used in various kinds of media and marketing campaigns.
Most of the time, vectors are essential for printing, and this includes our stickers. Die cut lines for stickers are pretty much shapes that are made from vectors. Without a vectorized die cut line, printers would be unable to cut the stickers. For more detailed guide to create die cut line for stickers, you can take a look at our previous blog.
Vector File Formats
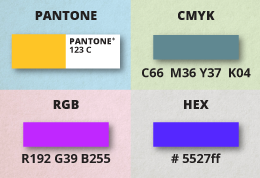
Before we get started with our tutorial, let's talk about the basics, which are file formats. Vector files can come in various formats, and using the incorrect file format can make the vector file useless. Below is a list of file formats that work well with vectors:
-
PDF
-
EPS
-
Ai
-
SVG

Converting Artwork to Vectors
Now that we’ve covered the basics, let's look into the various ways to vectorize your artwork. We’ll be using Adobe Illustrator program for the conversion, so it is advised to have the program ready before you begin this process.
NOTE*:Vectors are usually plain graphic elements. The less complicated your design, the better it is to create the vector. Detailed pictures such as photos are not recommended to convert to vectors.
Method A: Image Trace
This is a built-in function in the Adobe Illustrator program. While it seems awesome, it is actually not practical on many occasions. That said, it is still a useful method if you don’t have other options to vectorize your files.
1. Open the File with Adobe Illustrator
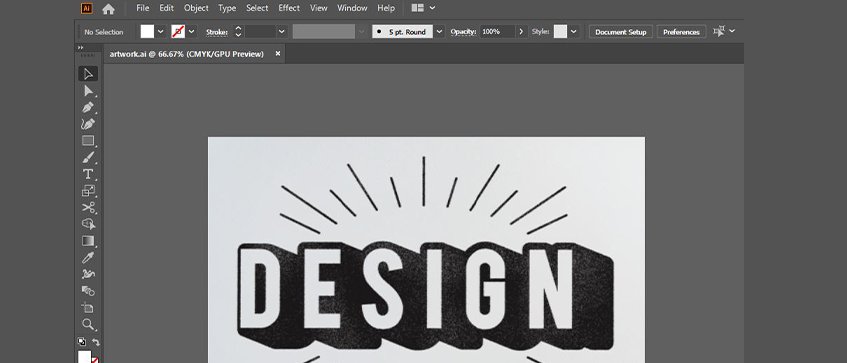
2. Go to “Image Trace”
First, click on the specific artwork that you’re going to vectorize, an bar will show up at the top area, and then you’ll notice a button called “Image Trace”
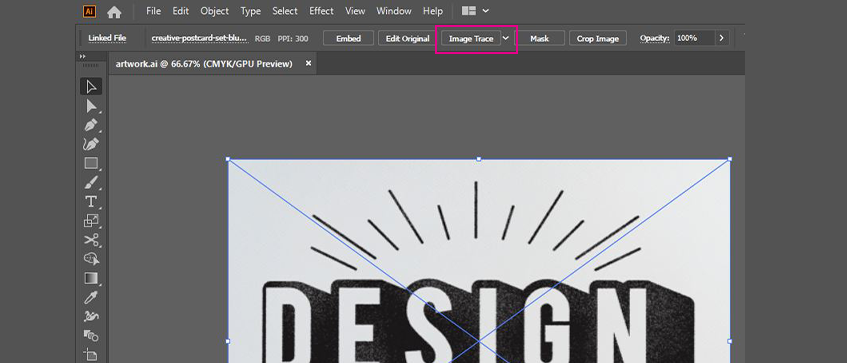
3. Select the Options Offered on “Image Trace”
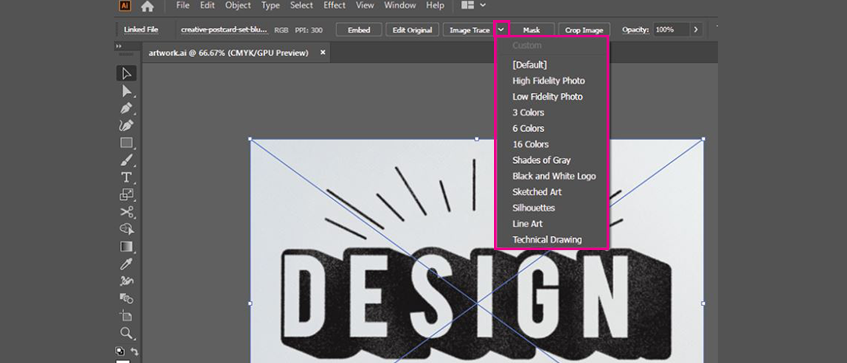
You will notice an arrow beside the button for “Image Trace”. When the arrow is clicked, a list will show up. Choose a suitable style as it will adjust according to your artwork. Feel free to play with the options offered until you’re happy with the result.
*NOTE: Do check your artwork resolution as it can affect the quality of the vector. The higher the resolution of the picture, the better.
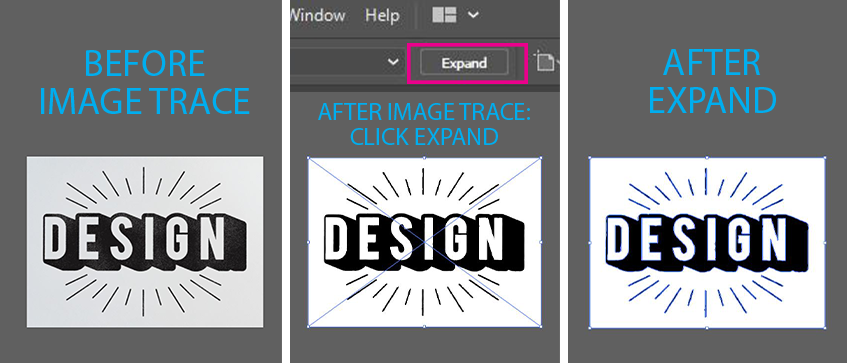
4. “Expand” the Image
After you’ve finished the image trace, a new button will then appear. Click on this button (called “Expand”). After that your artwork will be converted into vector
*NOTE: Your picture will seem different or less detailed than the original, as shown below.
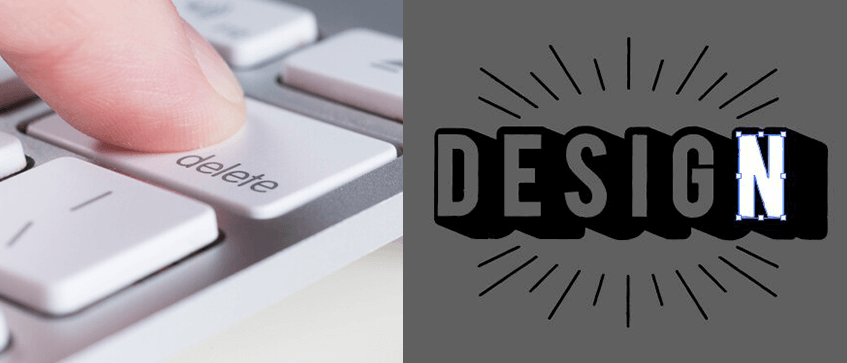
5. Remove Unwanted Areas
Click on areas you want to delete and press the “delete” button.
You might have to “ungroup” the vector image first before you remove the unwanted areas (Right click > Ungroup). ONLY retain the parts you need vectorized. In the example picture below, we simply removed the white areas while keeping the black areas.
6. Customize Your Vector
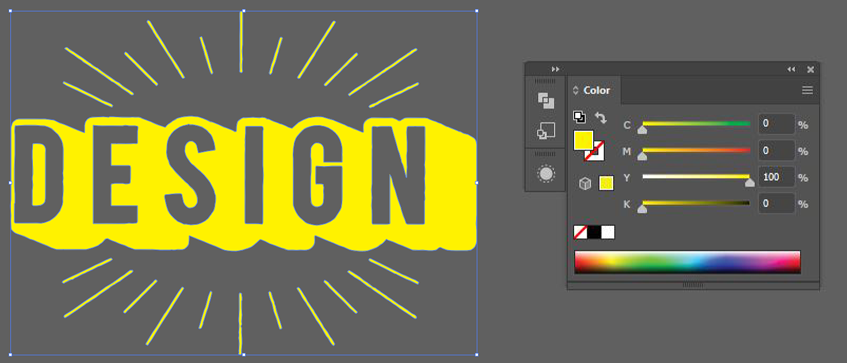
Vectorized artworks are customizable. You can click on the vector, change its color or even change the vector into a stroke. In the example shown below, we adjusted the original color from black to yellow. (Windows > Color)
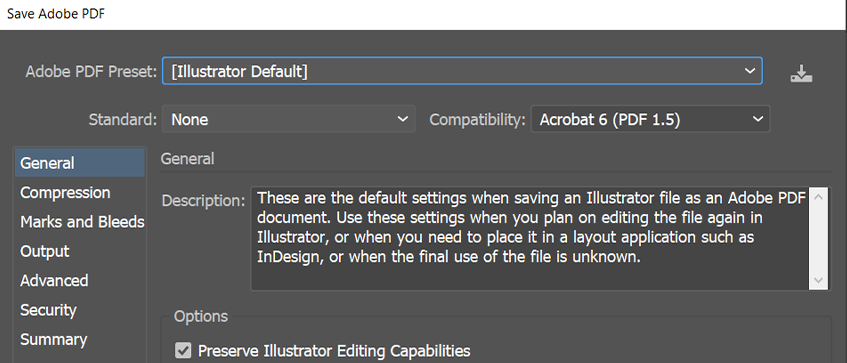
7. Save the File as a PDF File
Method B: Make the Vector Manually
This method is more complicated but is much more reliable if pulled off correctly. We’ll briefly talk about some tips to manually produce, or convert your artwork to vectors.
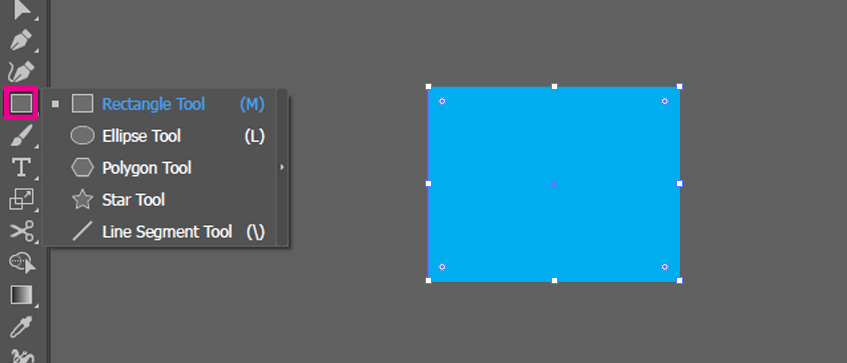
1. Create Shapes
In Illustrator, search for this toolbar as shown below which is usually located on the left of your screen. The feature allows you to create shapes, such as triangles, squares, polygons and more! If your sticker shape is simple, then this tool will be extremely useful!
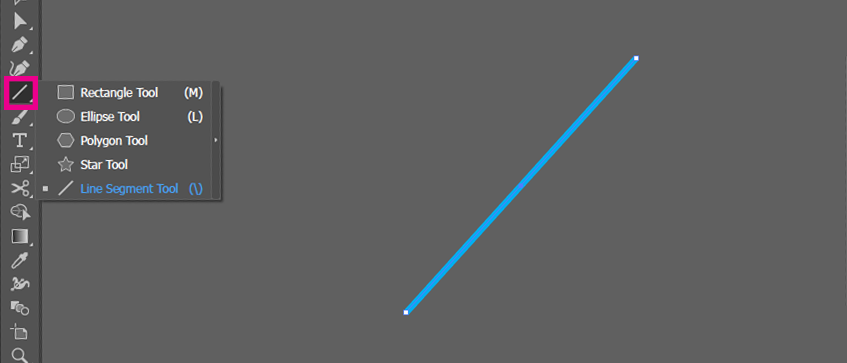
2: Make Lines
The same with shapes, you can also create lines with this feature.
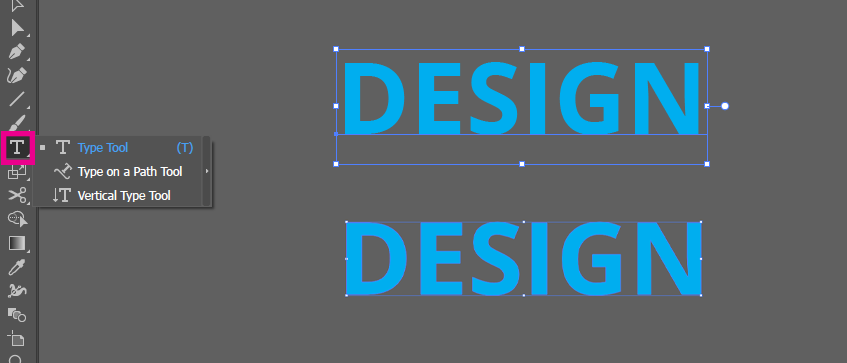
3. Type Out The Text
For simple text, typing them out makes them a vector by default. To type with illustrator, simply click on the tool as shown below.
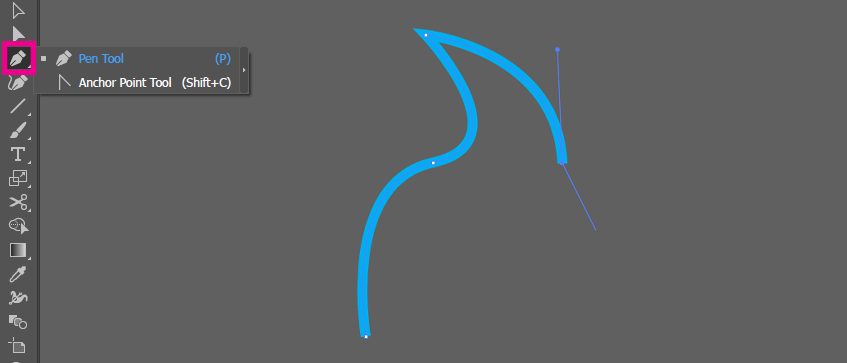
4: Use Pen Tool
In Adobe Illustrator, this is the most powerful tool for vectors. However it is very tricky to use, the Pen tool can determine anchor points of the vector, and enables you to control the lines or curves between the anchors.
As this tool is difficult to utilize, we won’t delve too deeply into it. However if you are able to learn more about this feature, you would be able to create great vectors! :)
Conclusion
Hopefully, this guide can help you to convert your artworks to vectors easier. Vectors are extremely important for stickers, and also for the printing industry as well, so it may be useful to learn ways to create your own vector.
If you’re already familiar with vectors, try printing with us and check out the various types of stickers we offer!