Despite their relatively small size, stickers do need some attention to detail when you print them. After all, anyone would want to leave the best impression from their stickers. It would be a waste if you have your stickers printed only to see that the result wasn’t as expected. Luckily all of this can be avoided, as we at Hellosticker will get you prepared! In this article, we’ll talk about the DO’s and DON’Ts when printing stickers :)
The DO’s
Be Careful of the Paper Material
The material of stickers is one of the most overlooked aspects when sent for printing. It is crucial to know what material you’re using as various materials have distinctive characteristics. For example, kraft stickers aren’t waterproof so they are unsuited to be refrigerated. Knowing these features can help you make better decisions when you plan for your next sticker project. One of our blogs has explained in detail about the various features of our sticker materials, check it out to find out more. Don't forget, material matters!
Be Wary with “White” or Light Colors
On the topic of materials, you need to keep an eye on some materials like clear, kraft, holographic or silver stickers, especially when you intend to print light colors or “white” on these materials! Thanks to the material’s unique base color, light colored ink can be affected when it is printed. When yellow is applied on clear stickers for example, it’ll not appear too visible when the sticker is placed on dark surfaces. On the other hand, “white” color (as in CMYK printing) can’t be printed on these kinds of materials at all! Rather, a special type of ink (called spot color) is required on these unique materials. That said, our silver stickers and sticker rolls have the option to print white color on stickers, so you can check them out! 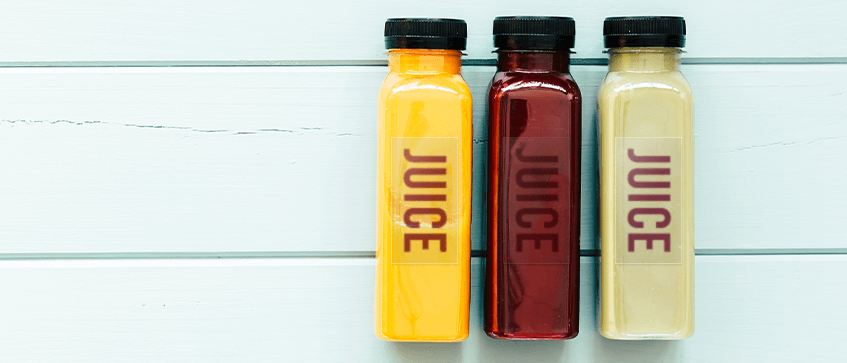
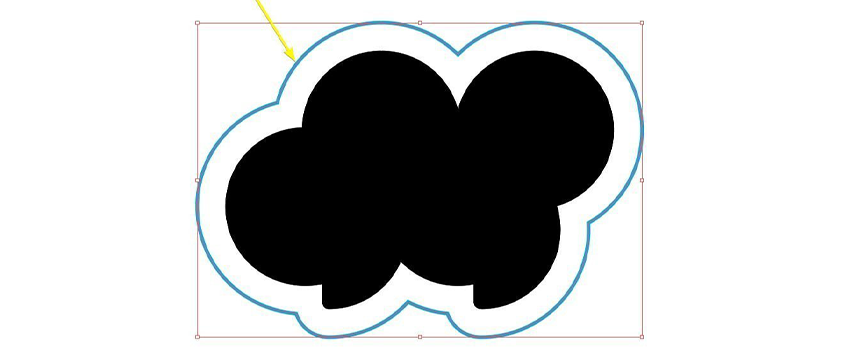
Form the Die-cut in Vector
Like cookies, stickers require a cookie cutter (called die-cut) to create their shape! As for how it is done, it’ll be through creating vectors. Vectors are graphic components that can be produced by certain programs like Adobe Illustrator, Canva and more. It is also a must that the die-cut would be in the form of a vector. Raster graphics are not advised to be used as the die-cut.
If you need a tutorial to create a die-cut in vector format, you can check out our previous article.
The DON’Ts
Print Unreadable Text
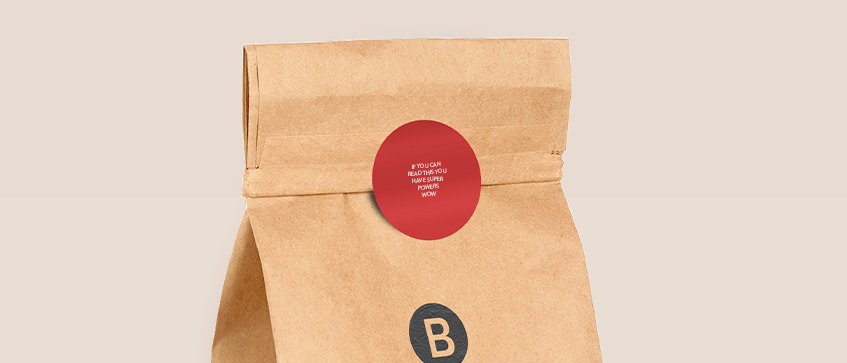
When it comes to printing, the readability of text is one of the most frequent mistakes. While stickers can be tiny, the size of texts needs to be at least 6pt. If the text size goes smaller than 6pt it will result in stickers with illegible words. This can be a challenge when there are small sized stickers (eg. 3x3cm). Regardless, do prioritize the legibility of the text over anything else!
Make Convoluted Die-cuts
Certain convoluted die-cuts are not possible to print with stickers. For example, a 70-pointed star has many detailed points that our printer is unable to print. That said, we can still handle our die-cuts well as long as you don't over-complicate the shapes and over-stress our printing machine.

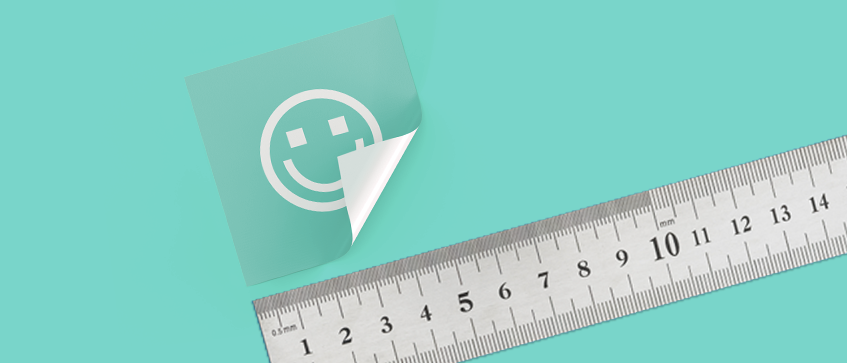
Create Stickers with the Incorrect Size
Just like any other printing items, your sticker canvas needs to be set exactly as the printing size. This is mainly because getting the size dimensions wrong can affect your perspective of your sticker artwork. For example, creating a 5x5cm sticker means you will have to set the canvas size as 5x5cm too. To prevent printing mistakes, you won’t go wrong when you set your sticker dimensions exactly as the printing dimensions.
Conclusion
Is our DO’s and DON’Ts list on stickers helpful? Now that you’ve read it, you can now start printing stickers with us in Hellosticker. We offer different kinds of stickers with a lot of paper materials to pick from. Just make sure to check your stickers, or check out our previous article for more detailed information regarding stickers!