For the most part, people expect that printing is mostly handled by technicians at any printing industry. However, that shouldn’t always be the case. At Hellosticker, while we are happy to help you spot those tiny errors before printing your stickers, we are unfortunately not fool-proof! Without the knowledge of printing, files that seemed “print ready” might not actually be as ready as you thought they would be. This is due to the fact that there are several aspects to be wary of when you send your files for printing.
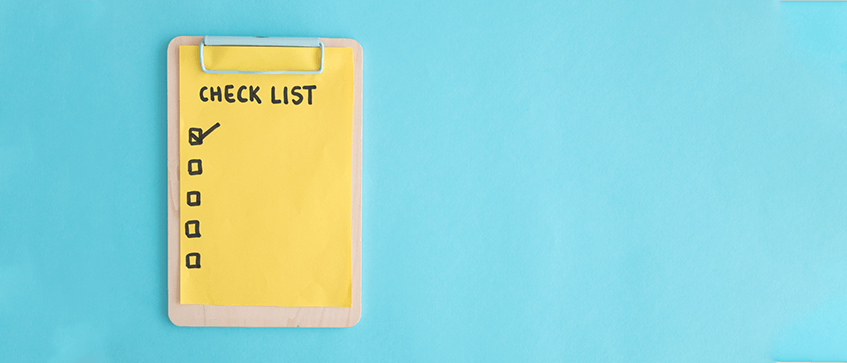
If you want to ensure a smooth ride, inspecting your own artwork files can not only save you time, it can also save you money! To give you an advantage when preparing these “print ready” files, we have created an artwork checklist to help you look out for certain things when you finalize your artwork.
1. Make Sure the Sticker Dimensions is Correct
Your sticker size should be as per the size you picked on our website.For example, if your order is a 5x5cm sticker, ensure that the canvas dimensions of your artwork is 5x5cm to prevent further issues.
2. Ensure You Have a Die-cut
All of our stickers require a die-cut to proceed for printing. You can check out our die-cut tutorial for more information.
3. Make Sure Your Artwork Has Bleed
Because of the inaccuracies of printing, bleed is additional content that is printed beyond the size of the artwork. As such, give an extra 3 mm of content around your stickers.
4. Inspect Your Artwork Safety Margins
Because of the inaccuracies of printing, there is a margin of 3mm from the edge of your artwork. Try to prevent having crucial content placed too close to the edge as it might get cut off when printing.
5. Try Not to Use Borders or Frames
Borders are generally not advised because of the inaccuracies of printing. If you still want a border for your sticker, the border or frame might be printed unevenly no matter how precisely you set your border in the center of the canvas.
6. Use Crop / Trim Marks on Your Stickers
Crop marks let us know the edge and exact size of your sticker artwork, so we’ll know the exact area to trim your stickers.
7. Use the Right Color Mode (CMYK)
Most printers use the CMYK (process color) to print, be sure that the color mode of your file is set as CMYK color mode and not RGB. Our previous article has further explained regarding the details of RGB and CMYK, you can read them here.
8. Embed your Linked Images
It is advised to embed your images before sending your files for printing. This is so that images won’t “disappear” when a printer opens up your files.
9. Ensure Your Text is Legible
The size of your text should be at least 6pt as if it gets any smaller, it won’t be legible. The font type and its colors can also influence the visibility too, be careful of using thin plus light colored texts as there is a possibility that they might fade out when printed.
10. Check the Resolution (quality) of your Photo
Your used image needs to be 300 dpi in resolution at minimum, if not the printed result might come out blurry.
11. Try to Use More Vectors
Vectors are almost compulsory in our stickers. Our die-cuts need to be in vector after all. Another reason vectors are recommended is that they are flexible and can produce the best printing results.
12. Make sure to use the Right Paper Material
Be sure that you are wary of the material as they can affect the printing result of your stickers. For example, if you pick kraft paper stickers, the color of your artwork will appear darker and come with a brown background.
13. Create Outline for Your Texts
What create outline does is it converts your text to a graphic element (vectors). However, after converting your texts to vectors, it will make the text uneditable, so it is advised to save a separate file after creating outline.
14. Upload Your Artwork in PDF Format
PDF is the safest and main format for printers to use when printing.
Wrap Up

With these steps, you can now ensure that the stickers you printed are in high quality with Hellosticker! You can start placing your order on our website now. If you still have more queries regarding your artwork, you can also contact us or take a look at our other articles here.


